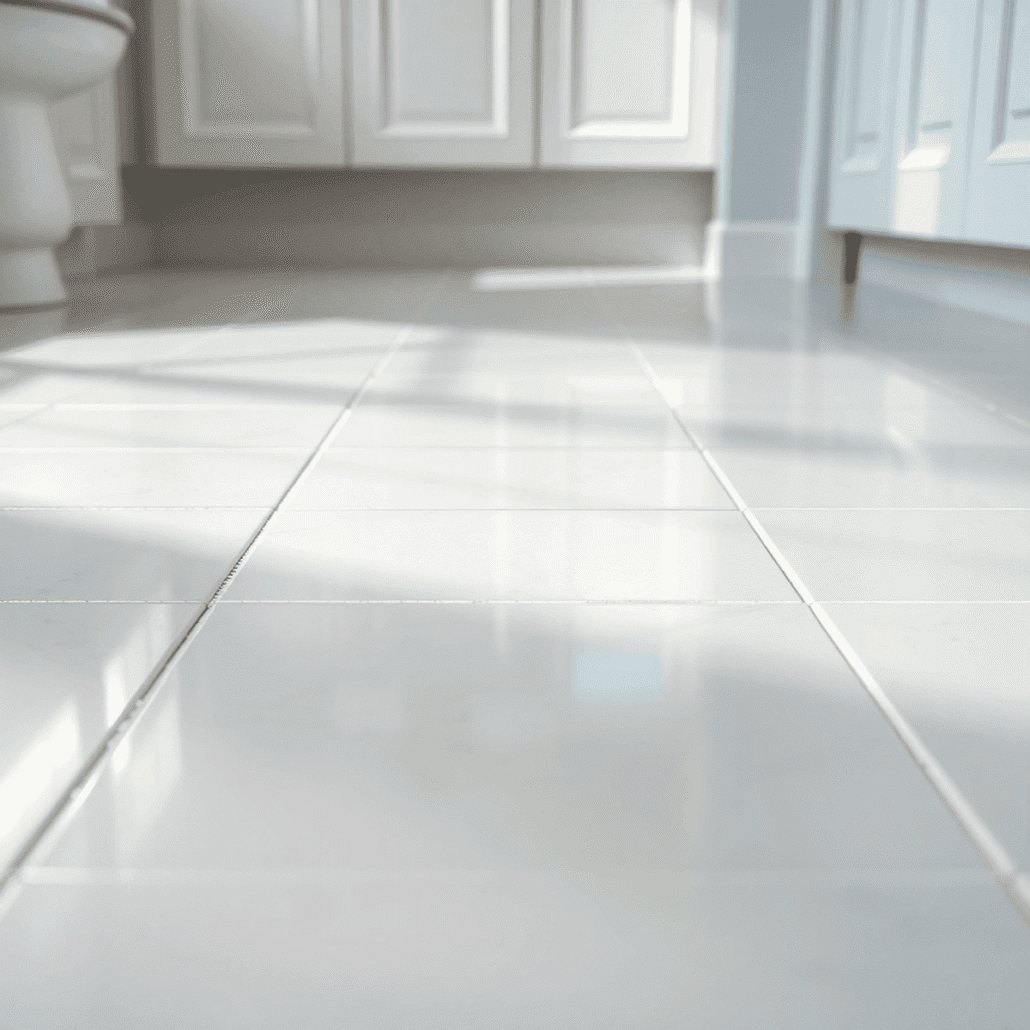
How To Clean Tile and Grout
Clean tile and grout isn’t just about looks – it’s essential for maintaining a healthy, hygienic living space. Dirty grout lines can harbour harmful bacteria, mould, and mildew, turning your beautiful tiled surfaces into potential health risks.
Many homeowners struggle with stubborn stains, black mould growth, and discoloured grout lines. These issues often come from:
- Moisture getting into bathroom areas
- Food and drink spills in kitchen spaces
- Daily foot traffic bringing in dirt and debris
- Improper cleaning techniques damaging surfaces
In this guide, you’ll find proven methods to tackle these challenges head-on. We’ll explore effective cleaning solutions for both tiles and grout, from simple homemade remedies to professional-grade products. You’ll learn the proper techniques to remove black stains, eliminate mould, and restore your grout lines to their original colour.
Whether you’re dealing with bathroom tile grout or kitchen floor tiles, this guide will give you the knowledge to maintain spotless, hygienic tiled surfaces throughout your home.
Understanding Tile and Grout Cleaning
Tiles and grout might look similar at first glance, but they’re quite different materials with unique cleaning requirements. Tiles are typically made from ceramic, porcelain, or natural stone, featuring a protective glaze that resists stains and moisture. Grout, on the other hand, is a porous cement-based material that fills the gaps between tiles.
How Dirt Accumulates on Tiles and Grout
Dirt accumulates on these surfaces through various mechanisms:
On Tiles:
- Daily foot traffic bringing in soil and debris
- Hard water deposits leaving mineral residue
- Soap scum build-up in bathrooms
- Food and drink spills in kitchen areas
In Grout Lines:
- Moisture seeping into porous grout surfaces
- Dirt particles becoming trapped in microscopic holes
- Mould and mildew growth in damp conditions
- Chemical residue from cleaning products
Why Regular Tile and Grout Cleaning is Important
Neglecting regular tile and grout cleaning can lead to serious issues:
Structural Problems
- Weakened grout lines
- Loose or cracked tiles
- Water damage to underlying surfaces
Health Concerns
- Bacterial growth
- Mould development
- Allergen accumulation
Aesthetic Impact
- Discoloured grout lines
- Dulled tile surfaces
- Permanent staining
- Reduced property value
Regular maintenance prevents these issues and extends the life of your flooring. While professional cleaning services can restore severely neglected surfaces, it’s essential to understand how to maintain your tiles properly. For instance, following some of these tips on how to clean tile floors can help keep your flooring in excellent condition.
Methods for Cleaning Tile
Let’s explore effective methods to restore your tiles to their original shine. Our experience has shown that different cleaning approaches work best for specific situations and tile types.
1. Homemade Cleaners for Tiles
A baking soda paste serves as a gentle yet powerful cleaning solution for your tiles. Here’s how to create and use this natural cleaner:
Baking Soda Paste Recipe
- 1/2 cup baking soda
- Water (enough to form a paste)
- Soft-bristled brush
- Clean cloth
Application Steps
- Mix baking soda with water until you achieve a spreadable consistency
- Apply the paste to your tiles using circular motions
- Let it sit for 10-15 minutes
- Scrub gently with a soft-bristled brush
- Rinse thoroughly with clean water
- Dry with a microfibre cloth
Hydrogen Peroxide Solution
This powerful antibacterial solution helps eliminate harmful germs while cleaning:
Recipe
- Equal parts hydrogen peroxide (3%)
- Water
- Spray bottle
- Protective gloves
Safety Precautions
- Always wear gloves
- Test on a small, hidden area first
- Keep the area well-ventilated
- Never mix with other cleaning products
Application Method
- Pour the solution into a spray bottle
- Spray directly onto tiles
- Allow 5-10 minutes contact time
- Wipe with a damp cloth
- Rinse thoroughly
Both these homemade solutions work brilliantly for regular maintenance cleaning. The baking soda paste proves particularly effective for stubborn stains, while the hydrogen peroxide solution excels at sanitising bathroom tiles.
Pro Tip: For optimal results, clean your tiles when they’re at room temperature – hot tiles can cause cleaning solutions to dry too quickly, leaving residue behind.
These natural cleaning methods provide a cost-effective, environmentally friendly approach to tile maintenance. They’re particularly suitable for those with sensitivities to harsh chemicals or homes with young children and pets.
2. Commercial Products for Tile Cleaning
Professional-grade tile cleaning products offer powerful solutions for stubborn stains and deep-seated dirt. These specialised cleaners contain concentrated formulations designed to break down tough grime, mineral deposits, and soap scum.
Popular Commercial Cleaners Include:
- pH-neutral cleaners – Safe for natural stone and delicate tiles
- Alkaline-based solutions – Ideal for heavy grease and oil removal
- Acidic cleaners – Perfect for removing mineral deposits and rust stains
- Enzymatic cleaners – Specifically formulated for organic stains
Tile Compatibility Guide:
- Ceramic and Porcelain Tiles: Can withstand most commercial cleaners
- Natural Stone (Marble, Granite): Use only pH-neutral products
- Slate and Limestone: Avoid acidic cleaners
- Glass Tiles: Safe with non-abrasive commercial solutions
When selecting commercial products, check the concentration levels and dilution requirements. Many professional-grade cleaners need proper dilution to prevent damage to your tiles and grout.
Application Tips:
- Test the product on a small, inconspicuous area first
- Use protective gear (gloves, eye protection)
- Ensure proper ventilation during application
- Follow manufacturer’s recommended contact time
- Rinse thoroughly with clean water
Professional cleaning products often contain specialised ingredients like quaternary ammonium compounds for disinfection and chelating agents for mineral deposit removal. These advanced formulations can tackle issues that homemade solutions might struggle with.
3. Steam Cleaning for Tiles
Steam cleaning is a powerful, chemical-free way to keep your tiles looking brand new. This method uses heated water vapour, reaching temperatures up to 175°C, to break down dirt and sanitise surfaces.
The Steam Cleaning Process:
1. Pre-cleaning preparation
- Clear the tiled area of loose debris
- Test steam cleaner on a small, inconspicuous area
- Fill the steam cleaner with distilled water
2. Application technique
- Hold the steam cleaner 15-20cm from the tile surface
- Move in steady, overlapping strokes
- Pay extra attention to corners and edges
- Allow tiles to dry completely
Benefits of Steam Cleaning:
- Chemical-free sanitisation: Kills 99.9% of bacteria and germs, safe for households with pets and children, environmentally friendly solution
- Deep cleaning action: Penetrates microscopic pores in tiles, dissolves stubborn dirt and grime, removes mould and mildew effectively
- Cost-effective maintenance: Requires only water, reduces need for multiple cleaning products, extends tile lifespan through gentle cleaning
Steam cleaning works particularly well on textured tiles where dirt tends to accumulate in small crevices. The high-temperature vapour breaks down oils and grease without leaving any residue behind. This method proves especially effective in bathrooms and kitchens where hygiene standards need to be maintained at their highest.
For optimal results, we recommend using a steam cleaner with adjustable pressure settings and temperature controls. This allows customisation based on the specific tile type and level of soiling present.
Techniques for Cleaning Grout
Grout cleaning requires specific techniques to maintain its pristine appearance and structural integrity. Let’s explore proven methods that deliver exceptional results while protecting your grout lines from damage.
Essential Grout Cleaning Tools:
- Stiff-bristled brush or old toothbrush
- Microfibre cloths
- pH-neutral cleaning solutions
- Protective gloves
- Knee pads for comfort
Basic Cleaning Method:
- Apply cleaning solution to grout lines
- Let it sit for 5-10 minutes
- Scrub in circular motions
- Wipe clean with damp cloth
- Dry thoroughly with clean towel
Dealing with Stubborn Stains:
- Mix equal parts baking soda and water
- Create oxygen bleach solution for tough discolouration
- Use white vinegar solution for limescale deposits
- Apply specialised grout cleaners for mould removal
Prevention Tips:
- Wipe spills immediately
- Use doormats to reduce tracked-in dirt
- Keep bathroom well-ventilated
- Apply grout sealer annually
Monthly Maintenance Schedule:
- Week 1: Deep clean bathroom grout
- Week 2: Focus on kitchen backsplash
- Week 3: Clean floor grout in high-traffic areas
- Week 4: Inspect and spot-clean as needed
Mould Prevention Strategy:
- Run bathroom fan during showers
- Leave shower door open after use
- Squeegee tiles after bathing
- Check for leaky taps or pipes
Professional Cleaning Indicators:
- Persistent staining
- Visible mould growth
- Crumbling grout lines
- Deep-set discolouration
Recommended Cleaning Frequency:
- Bathroom grout: Weekly light clean
- Kitchen grout: Bi-weekly scrub
- Floor grout: Monthly deep clean
- Outdoor grout: Quarterly maintenance
Spot Cleaning Protocol:
- Identify stain type
- Choose appropriate cleaner
- Test in inconspicuous area
- Apply targeted treatment
- Rinse thoroughly
Remember to always work in small sections when cleaning grout. This approach ensures thorough cleaning while preventing cleaning solutions from drying on the surface. Regular maintenance significantly reduces the need for intensive cleaning sessions and helps preserve your grout’s appearance.
2. Sealing Grout Periodically for Enhanced Protection
Sealing your grout creates an invisible protective barrier that prevents moisture, dirt, and stains from penetrating the surface. This essential maintenance step can extend the life of your grout by up to 5 years when done correctly.
Benefits of Grout Sealing:
- Blocks water absorption
- Prevents mould and mildew growth
- Reduces staining from spills
- Makes regular cleaning easier
- Preserves grout colour
- Protects against harsh cleaning chemicals
Professional Sealing Process:
- Clean and dry grout lines thoroughly
- Apply penetrating sealer with precision applicator
- Allow 15-20 minutes absorption time
- Wipe excess sealer from tile surfaces
- Let cure for 24-48 hours before water exposure
The frequency of sealing depends on your tile location and usage. High-traffic areas or shower spaces need resealing every 6-12 months, while low-traffic areas can last 2-3 years between applications.
Signs You Need to Reseal:
- Water no longer beads on grout surface
- Grout appears darker when wet
- Cleaning becomes increasingly difficult
- Visible wear in high-traffic zones
For optimal protection, choose a high-quality penetrating sealer designed specifically for your grout type. Avoid applying sealer to damaged or crumbling grout – repair these areas first. Test the sealer on a small, inconspicuous area to ensure compatibility with your specific grout material.
A properly sealed grout line acts as your first defence against daily wear and tear, making routine maintenance significantly easier and protecting your investment in the long term.
When To Consider Professional Help?
Despite your best efforts at DIY tile and grout cleaning, certain situations call for expert intervention. Here are key indicators that signal it’s time to contact professional cleaning services:
Visible Signs Requiring Professional Attention:
- Persistent stains that resist regular cleaning methods
- Discoloured or darkened grout lines across large areas
- Crumbling or deteriorating grout
- Mould growth in bathroom tiles
- Unpleasant odours emanating from tile surfaces
Professional cleaners bring specialised equipment that delivers superior results compared to household cleaning tools. Their arsenal includes:
- High-pressure steam cleaners – Penetrate deep into porous surfaces
- Industrial-grade vacuum systems – Extract embedded dirt and debris
- Professional-strength cleaning solutions – Break down stubborn stains
- Specialised brushes and tools – Access hard-to-reach areas
Professional tile cleaning services also offer preventative maintenance programmes. These scheduled deep-cleaning sessions help maintain your tile and grout’s appearance while extending their lifespan. A professional assessment can identify potential issues before they become major problems.
The expertise of professional cleaners becomes particularly valuable for:
- Large commercial spaces
- Period properties with original Victorian tiles
- Natural stone tiles requiring specific care
- Areas with heavy foot traffic
- Properties preparing for sale or rental
Professional cleaning services use advanced techniques to restore heavily soiled tiles and grout without causing damage. Their knowledge of different tile materials ensures the appropriate cleaning methods and products are used for your specific flooring type.
Conclusion
Maintaining beautiful, hygienic tiles and grout doesn’t require harsh chemicals or complex procedures. A balanced approach combining gentle cleaning agents with consistent maintenance practices creates lasting results.
Regular cleaning routines protect your investment:
- Use natural solutions like baking soda paste for daily care
- Apply commercial products strategically for deeper cleaning
- Schedule professional services for thorough restoration
The key lies in responding quickly to spills and establishing a consistent cleaning schedule. Your choice of cleaning methods should match your tile type and lifestyle needs. Whether you opt for DIY solutions or professional services, protecting your tiles and grout through proper maintenance ensures their longevity.
Remember – your tiles and grout can maintain their pristine appearance for years with the right care routine. By implementing these cleaning techniques and maintenance practices, you’ll preserve the beauty and durability of your tiled surfaces whilst creating a healthier living environment.
FAQs
Why is regular tile and grout cleaning important for maintaining home hygiene?
Regular tile and grout cleaning is essential to prevent dirt accumulation, mould growth, and discoloration, ensuring a clean, hygienic environment and preserving the appearance and durability of your tiles and grout.
What are effective homemade cleaners for tile and grout maintenance?
Homemade cleaners such as baking soda paste and hydrogen peroxide paste are effective for cleaning tiles and grout. Baking soda paste helps remove dirt gently, while hydrogen peroxide paste kills bacteria. Both should be used with appropriate precautions to avoid damage.
How can steam cleaning benefit tile and grout maintenance?
Steam cleaning is a chemical-free method that uses heat treatment to effectively clean tiles and grout. It removes dirt, kills bacteria, and maintains tile quality without harsh chemicals, making it an eco-friendly alternative for tile maintenance.
What are the best practices for cleaning grout to keep it white and mould-free?
Regular scrubbing of grout lines, ideally monthly, combined with promptly wiping spills prevents dirt buildup and staining. Periodic sealing of grout enhances moisture resistance, protecting against mould growth and discoloration.
When should I consider professional deep-cleaning services for my tile and grout?
Professional help is advisable when stains or mould persist despite regular cleaning, or when deep-seated dirt accumulates. Professionals use specialized equipment that ensures thorough deep-cleaning without damaging tiles or grout.
How can I safely clean mouldy or blackened grout in bathroom tiles?
To clean mouldy or blackened grout in bathrooms, use targeted cleaners like hydrogen peroxide paste or commercial mold removers following safety guidelines. Regular scrubbing combined with sealing after cleaning helps prevent recurrence.