How to remove grout haze from new tiles
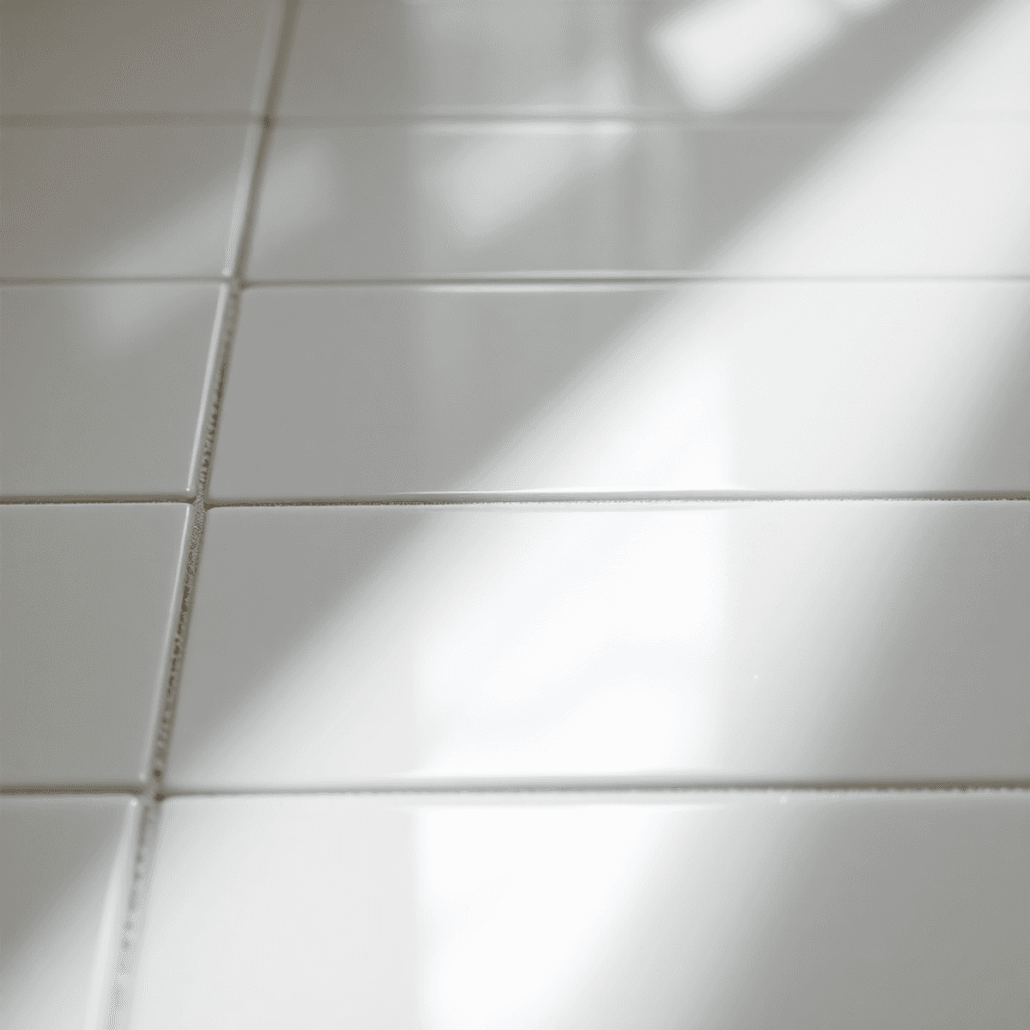
You finish tiling, stand back, and feel pretty proud of yourself… until the light hits the floor at the wrong angle.
That cloudy film. The dull, chalky look that makes “brand new tiles” somehow look a bit tired already. This is known as grout haze, and it is extremely common. The good news is it is usually removable. However, people often make it worse by scrubbing too soon, using the wrong cleaner, or going way too aggressively on delicate surfaces like natural stone.
This guide walks you through removing grout haze properly, in a sensible order, with options depending on your tile type. I’ll also flag the common mistakes I see all the time in the cleaning and restoration world.
What grout haze actually is (and why it happens)
Grout haze is a fine residue left on the tile face after grouting. It is basically cement and minerals (and sometimes polymers) that dry as a thin film.
A few reasons it happens:
- The grout wasn’t cleaned off thoroughly during installation.
- The sponge used was too wet, spreading the grout around rather than lifting it.
- The grout was left too long before the first wipe down.
- Textured tiles held onto more residue in the surface profile.
- A second haze appears the next day as moisture evaporates and pulls minerals to the surface.
And just to clear something up. Grout haze is not the same as:
- Efflorescence (salty, crystalline deposits often from moisture movement)
- Limescale (hard water deposits)
- Etching (damage to calcium-based stone from acidic products)
They can look similar but are not treated the same.
If you’re looking for effective methods to clean your tile and grout, it’s important to note that professional help can make a significant difference. For instance, if you’re located in Derbyshire and require tile and grout cleaning services, there are experts available who can assist you.
In cases where you have specific needs such as shower tile grout cleaning and silicone sealing or deep cleaning travertine floors, specialised services are also available.
Moreover, if you own sandstone floors that require thorough cleaning and sealing, professionals can handle that too as seen in this sandstone floor cleaning case.
Before you start: identify your tile surface
This matters more than people think.
Generally acid safe (usually)
- Most ceramic and porcelain tiles (glazed)
- Many quarry tiles (but test first) – for instance, you can refer to this quarry tile grout cleaning and sealing guide for more information.
Acid sensitive (be careful)
- Natural stone like marble, limestone, travertine
- Terrazzo
- Some encaustic / cement tiles
- Polished finishes that can dull
If you are in any doubt and the tiles are stone, assume acid is risky until proven otherwise.
If you’ve got Victorian style floors like Minton tiles or older period surfaces, you also want to go gently. They can be robust, yes. But the wrong chemicals can mark them, and the wrong scrubbing can wear edges and glaze. For example, if you’re dealing with Victorian tiles, you may find this cleaning guide helpful.
Tools and products you’ll actually need
Keep it simple. Most grout haze removal is about process, not strength.
- Microfibre cloths (a few)
- A mop and two buckets (one for cleaning solution, one for rinse)
- White nylon scrub pad (non scratch) or a soft brush
- pH neutral tile cleaner (or a mild detergent)
- Grout haze remover (cement residue remover) appropriate for your surface
- Rubber gloves and eye protection
- Clean water. Lots of it.
Optional but helpful:
- Wet vac (for pulling slurry off the floor)
- Plastic scraper (for small blobs, carefully)
- A small handheld brush for textured tiles
Step 1: Wait long enough, but not forever
If you try to remove haze while grout is still “green” (not properly cured), you can pull grout out of the joints or smear residue deeper into texture.
A decent rule of thumb:
- Wait at least 24 hours after grouting (sometimes longer in cool, damp conditions)
- Follow the grout manufacturer’s guidance if you still have it
That said, don’t leave grout haze for weeks and months if you can help it. Older haze can harden and become more stubborn. If you’re dealing with such stubborn cases on quarry tiles, consider seeking professional help as shown in this quarry deep clean and cement removal case study.
Step 2: Start with the gentlest method (dry buff + neutral clean)
A lot of haze on glossy porcelain is light and powdery. It may come off without any specialist chemicals.
- Dry buff the tiles with a clean, dry microfibre cloth.
- Mop with warm water + pH neutral cleaner.
- Rinse with clean water.
- Dry the surface (microfibre again). Drying matters because it stops dissolved residue just settling back down.
If the floor improves but still looks cloudy when it dries, that is when you move up a level.
Step 3: Try a dedicated grout haze remover (for ceramic and porcelain)
For most new porcelain and ceramic installations, a proprietary grout haze remover is the quickest, safest route. These are usually mild acids designed to dissolve cement residue.
Important: not all “grout haze removers” are the same. Some are stronger, some are buffered, some are specifically labelled safe for porcelain but not for polished stone.
How to use it (the method that works)
- Vacuum or sweep first. Grit + scrubbing = scratches.
- Pre-wet the tiles with clean water. This helps stop the cleaner soaking in too fast and gives you more control.
- Dilute the product as per the label. Do not guess.
- Apply to a small section, maybe 2 to 4 square metres at a time.
- Let it dwell for the recommended time. Usually a few minutes.
- Do not let it dry on the surface.
- Agitate with a white nylon pad or soft brush.
- Remove the slurry, then rinse thoroughly. Twice if you can.
- Dry and inspect.
If you’re dealing with stubborn grout residue after trying these methods, consider professional help such as this ceramic tiled bathroom shower cleaning service which specialises in grout re-colouring and tile cleaning in Liverpool. If it looks better but not perfect, repeat once more before reaching for anything stronger.
A note on grout joints
Haze removers are designed to contact grout residue, which means they’ll inevitably touch the joints too. This is acceptable when done correctly. However, issues arise from:
- leaving it on for too long
- using it in too strong a concentration
- failing to rinse properly
Step 4: For stubborn haze, step up carefully (don’t jump straight to brick acid)
Some grout haze is more persistent, particularly on textured tiles, matte finishes, and outdoor porcelain. In such cases, the residue may resemble a thin cement wash that has bonded.
You can:
- Use a stronger dilution (if the product allows it)
- Use a heavier agitation method (still non-scratch)
- Repeat the process in smaller sections
However, what I would strongly advise against, especially indoors, is resorting straight to harsh acids often suggested online. They can:
- damage metal trims
- bleach coloured grout
- burn your lungs and skin if mishandled
- etch natural stone instantly
If you’re considering using whatever builder’s acid you have lying around, pause. That is how a simple haze job turns into a restoration job.
What if the tiles are natural stone?
This is where you need to slow down.
If your tiles are made of marble, limestone, travertine, terrazzo, or any calcium-based stone, acids can etch the surface and leave dull patches. Initially, that dulling may resemble haze, but eventually you realise it’s permanent damage.
So for stone tiles like polished limestone, your approach should be:
- Dry buff
- pH neutral clean
- If haze remains, use a stone safe grout haze remover (specifically labelled safe for natural stone), or a specialist alkaline cleaner depending on the type of residue
- Always test in an inconspicuous area first.
In cases where the stone is polished and already appears cloudy, it’s essential to determine whether it’s residue or etching. Residue typically improves with cleaning while etching does not. Etching requires polishing.
This is also the point where professional help becomes invaluable. At Tile & Stone Medic we frequently receive calls stating “I tried a haze remover and now the marble is dull”. Such issues transcend cleaning and become restoration processes.
For instance, if you’re dealing with porcelain tile or quarry tiles, seeking professional assistance could save you considerable time and money in rectifying potential damages caused by improper cleaning techniques.
Textured, anti-slip, and outdoor tiles (why they’re harder)
Grip porcelain and riven texture tiles hold grout residue in the little valleys. You can wipe and wipe and still have haze.
A few tips:
- Use a soft brush that gets into texture, not just a flat pad.
- Work smaller areas so the chemical doesn’t dry.
- Extract the dirty solution instead of spreading it around. A wet vac is brilliant here.
- Rinse more than you think you need. Texture holds residue and cleaner.
Common mistakes that keep haze coming back
1. Not rinsing properly
If you dissolve grout residue but leave the dirty solution on the tile, it can dry back as a film. You removed it, then re deposited it. Easy to do.
Rinse with fresh water. Change the water. Dry the floor.
2. Using too much product
More chemical doesn’t always mean more cleaning. It can mean sticky residues, streaks, and patchy results.
3. Scrubbing with abrasive pads
Green scourers, harsh scrub pads, and powder abrasives can scratch porcelain (yes, even porcelain), dull glazed tiles, and ruin polished stone.
Use white pads or soft brushes.
4. Leaving acid on too long
Dwell time matters. Work in sections. Don’t wander off mid job.
5. Treating “haze” that is actually something else
If your film is:
- sparkly or crystalline, it could be efflorescence
- only around shower areas, it might be soap and limescale
- dull in patches on marble, it could be etching
Different problem, different fix.
For those considering Victorian tiles, it’s essential to understand that their unique texture also requires specific care to avoid similar issues with haze and residue buildup.
How to tell if you’ve actually removed it
Here’s a quick, practical test.
- Clean a small area properly, rinse, then dry it completely.
- Look at it from a low angle in good light.
Wet tiles can hide haze. Dry tiles show the truth.
If it is gone when dry, you’re done. If it looks good wet but cloudy dry, there is still residue.
Aftercare: should you seal anything?
This depends on the surface.
- Porcelain and ceramic tiles generally do not need sealing, but grout lines often benefit from a grout sealer once fully cured. For effective tile and grout cleaning in Worcestershire, consider hiring professionals to ensure a thorough job.
- Natural stone often benefits from sealing (impregnating sealer), but only after the surface is fully clean and haze free.
Do not seal over haze. You’ll lock the residue in and it becomes much harder to remove later.
If you are planning to seal, give the floor time to dry properly after haze removal and rinsing. Moisture trapped under sealers can cause patchiness.
When it’s time to call a professional
Sometimes grout haze removal is a quick DIY win. Sometimes it turns into hours of frustration and still looks patchy.
Consider bringing in a specialist if:
- the tiles are marble, limestone, travertine, terrazzo or any polished stone
- you’ve tried haze remover and it’s not shifting
- the haze is heavy in textured tiles and keeps reappearing
- you suspect the surface has been etched or scratched
- it’s a larger area and you want it done quickly, properly, and without risk
Tile & Stone Medic has been in the cleaning and restoration industry for over 20 years, working across domestic floorcare and commercial cleaning. That includes tile cleaning and restoration, stone floor cleaning and restoration, marble cleaning and restoration, plus period floors like Victorian Minton hallways. The main advantage of using a team that does this every day is not just the products, it’s the judgement. Knowing what not to use is half the job.
For those considering professional help with their tile care needs in areas such as Warwickshire or Cheshire, Tile & Stone Medic is an excellent choice due to their extensive experience in this field. Additionally, if you’re dealing with quarry tiles, our floor care guide offers valuable insights on how to properly clean them.
Quick recap (the sensible order)
- Let the grout cure (usually 24 hours minimum).
- Dry buff with microfibre.
- Clean with pH neutral cleaner, rinse, dry.
- Use a suitable grout haze remover for your surface, in small sections.
- Agitate gently, remove slurry, rinse thoroughly, dry and inspect.
- Repeat if needed, don’t jump to harsh acids.
- For natural stone, use stone safe methods only. Test first.
New tiles should look new. Bright, crisp, clean. If your floor still looks a bit cloudy after you’ve done the steps above, stop and reassess before you throw stronger chemicals at it. That one decision is usually the difference between a straightforward clean and a surface that needs restoration.
FAQs (Frequently Asked Questions)
What is grout haze and why does it appear on new tiles?
Grout haze is a fine, cloudy film left on the tile surface after grouting, composed of cement, minerals, and sometimes polymers that dry as a thin residue. It occurs due to factors like insufficient cleaning during installation, using an overly wet sponge that spreads grout instead of removing it, leaving grout too long before wiping, textured tiles trapping more residue, or moisture evaporation pulling minerals to the surface.
How can I differentiate grout haze from similar issues like efflorescence or limescale?
Grout haze is a thin cement-based film on tiles after grouting. Efflorescence appears as salty, crystalline deposits caused by moisture movement. Limescale consists of hard water mineral deposits. Etching is damage to calcium-based stones from acidic products. Although they may look alike, each requires different treatment methods.
Which types of tiles are safe to clean with acidic grout haze removers?
Generally, glazed ceramic and porcelain tiles are acid-safe and can tolerate acidic grout haze removers. Many quarry tiles are also acid-safe but should be tested first. However, natural stone tiles like marble, limestone, travertine, terrazzo, some encaustic or cement tiles, and polished finishes are acid-sensitive and require gentle cleaning methods.
What tools and products do I need for effective grout haze removal?
You will need microfibre cloths, a mop with two buckets (one for cleaning solution and one for rinsing), a white nylon non-scratch scrub pad or soft brush, a pH-neutral tile cleaner or mild detergent, an appropriate grout haze remover (cement residue remover) for your tile type, rubber gloves and eye protection, plus plenty of clean water. Optional tools include a wet vacuum for slurry removal, a plastic scraper for small blobs, and a small handheld brush for textured surfaces.
When is the best time to start removing grout haze after tiling?
It’s best to wait at least 24 hours after grouting before attempting to remove grout haze to allow the grout to cure properly. This duration might be longer in cool or damp conditions. Removing haze too soon can smear residue deeper into textures or pull out grout from joints. Always follow the specific grout manufacturer’s guidance if available.
What common mistakes should I avoid when cleaning grout haze?
Avoid scrubbing too soon before the grout cures fully; this can damage joints or worsen residue spread. Do not use harsh acidic cleaners on acid-sensitive surfaces like natural stone or polished tiles as this can cause etching or dullness. Also avoid overly aggressive scrubbing which can wear down delicate tile edges or glaze. Use appropriate cleaners and gentle techniques suited to your tile type.